
September 16, 2025
With rising energy costs and a growing focus on sustainability, many businesses are turning to solar as a way to cut expenses and reduce their carbon footprint. But getting started can feel overwhelming. Here’s a simple step-by-step look at the process:
Step 1) Site evaluation
We start with an on-site assessment—whether rooftop or ground—to confirm your property can support solar. This includes reviewing your electrical system, checking roof integrity for rooftop systems, and evaluating sun exposure to ensure there are no obstructions that would limit performance.
Step 2) Designing, Proposal & financial planning for your solar system
Next, we design a system tailored to your business and walk you through financial scenarios, including payment options, projected savings, and payback timelines. A proposal is submitted to you, and you approve to move forward.
Step 3) Permitting
Once the signed contract is received, we then have clear communication with you about timing of installation, site restrictions, etc. to ensure we develop a schedule that works best for your business. Then, for the customer there is a bit of quiet time.
During this time, our team is getting several steps done. We are getting structural and electrical engineering plans completed; completing utility and interconnection paperwork through permitting processes; and if necessary, working with a roofer to ensure any warranties remain intact. This stage often takes the most time (about 6–8 months), but we’ll keep you updated every step of the way.

Step 4) Safety Planning & Staging
Before installation begins, we develop a site-specific safety plan and prepare materials, so everything is ready for a smooth start. For example, if it’s a rooftop installation, we ensure everything meets OSHA requirements, such as weather-specific guardrails. To ensure the installation team can begin immediately on day one, we also do some preparation with getting materials delivered, mapping out a staging area, and mock-up the layout plan.

Step 5) Construction
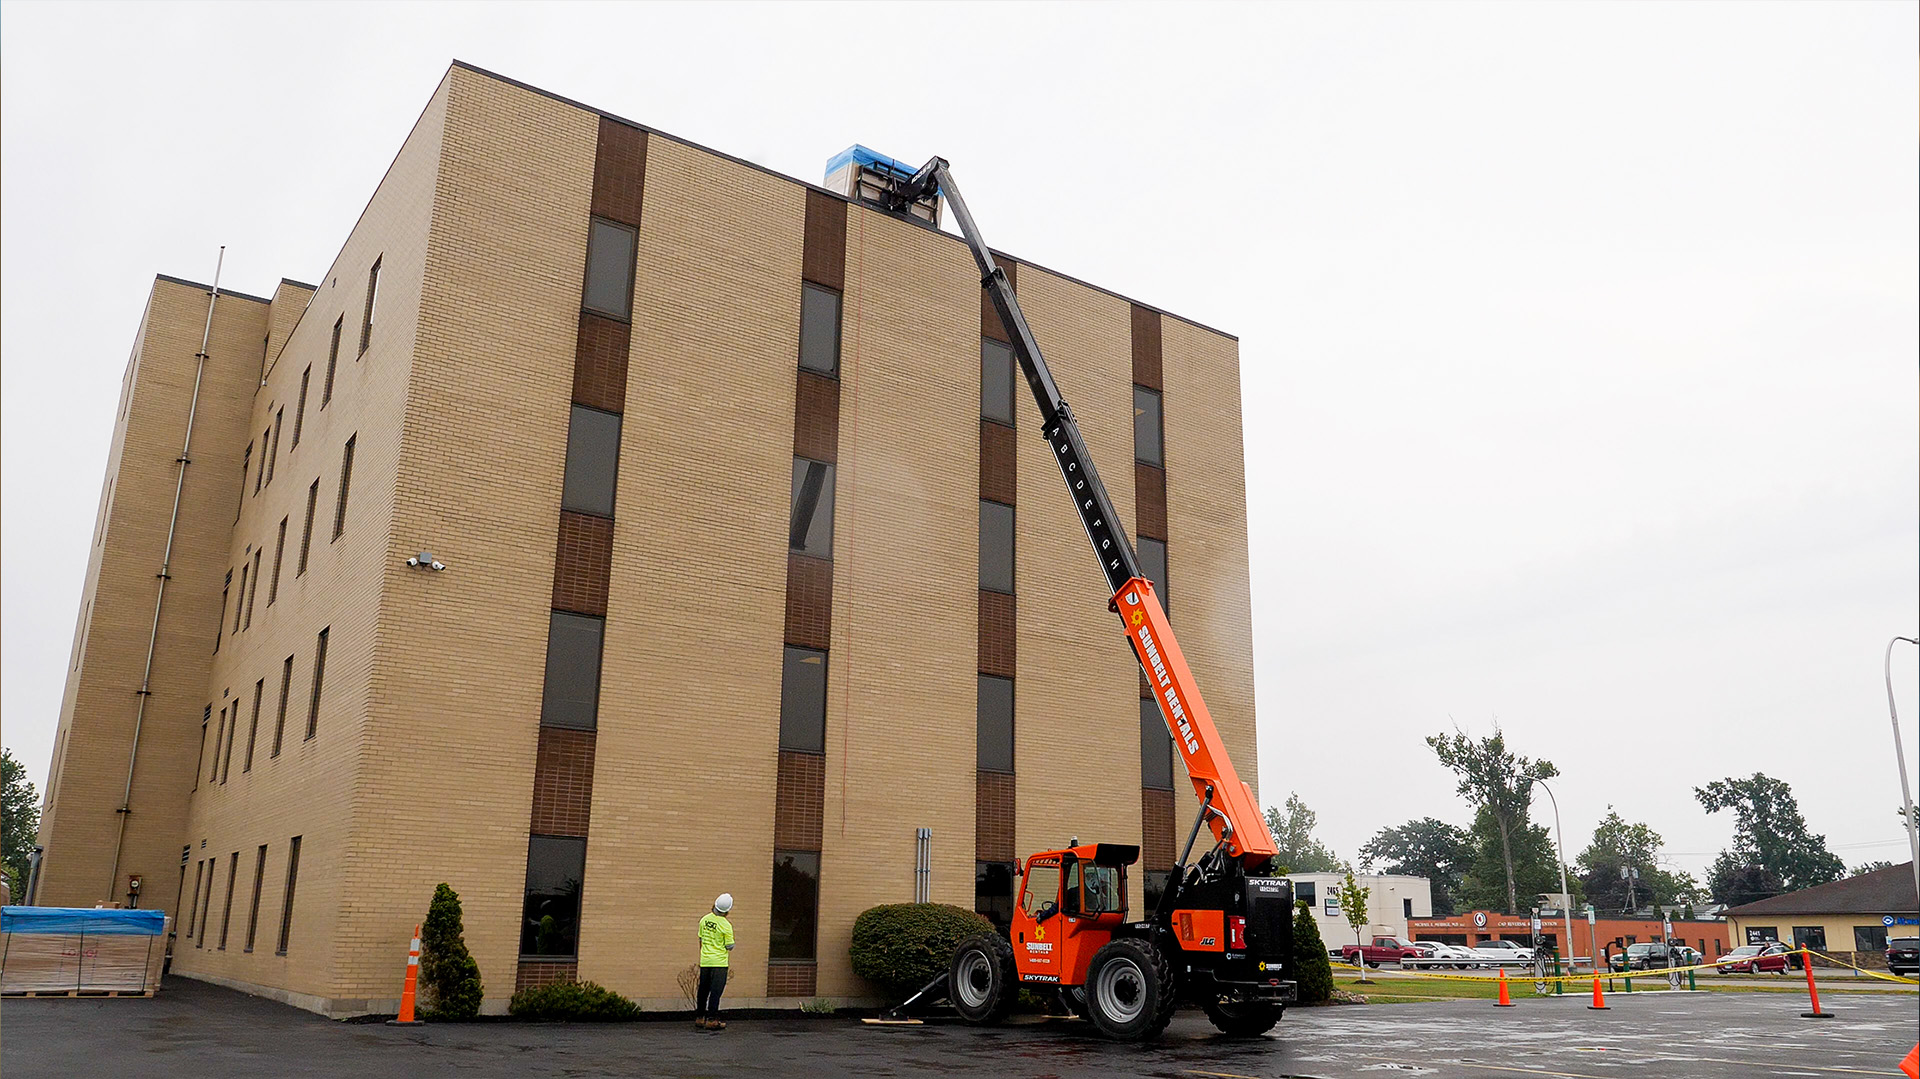
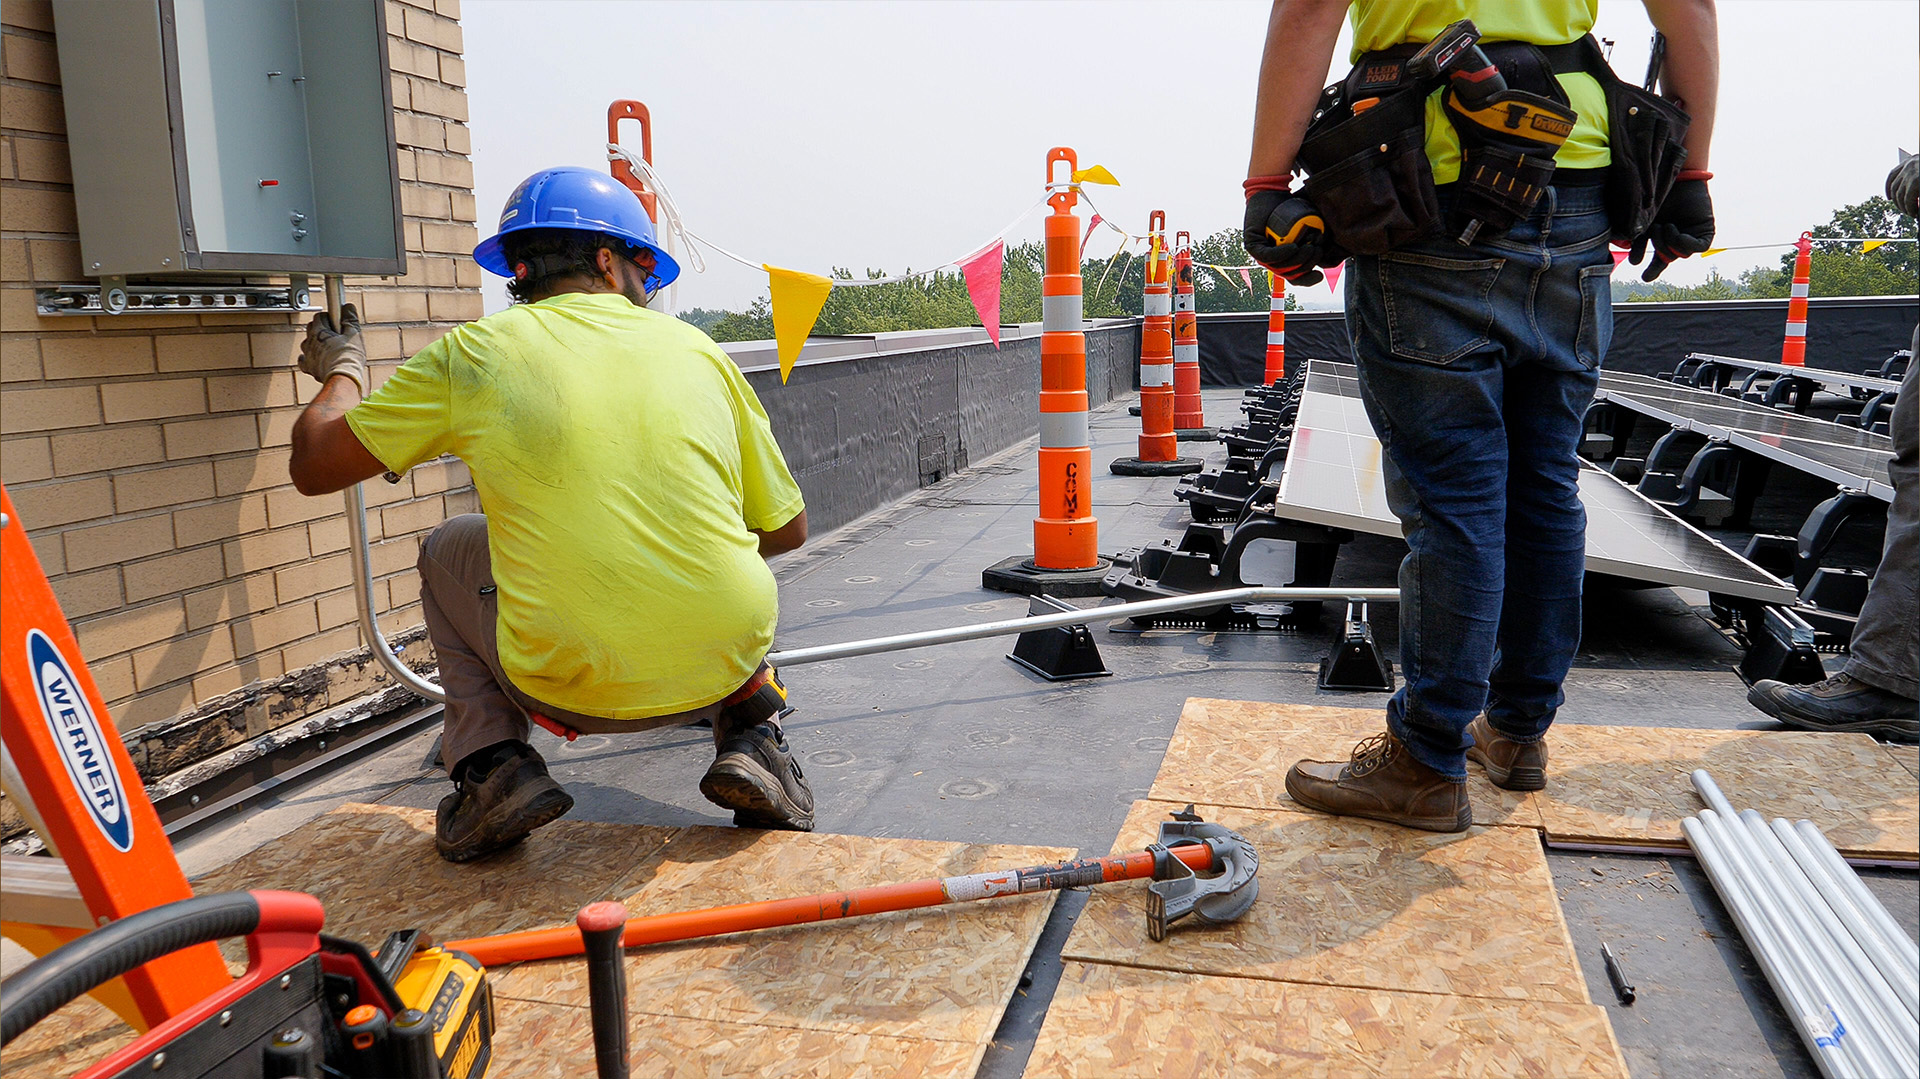
Installation begins with mounting system, whether floating or penetrated, depending on your roof style. It also includes electrical and conduit work, as the entire system is connected via a cable management system.
Solar panels are lifted to your rooftop, with appropriate equipment for the job, and installed to a suitable system for your design. Some systems have micro inverter systems and others use a string inverter system. Once installation is completed, the system is inspected and coordinated with utility to bring it online.
All of construction work is coordinated and planned with you to have minimal disruption to normal business operations. Depending on the size of your project, it typically can be completed in a few weeks. The size of the system and weather are also determining factors in the installation duration.
Interested in setting up a consultation? Let’s get started.
